Introduction
Dialogues in videogames are very important, well-written dialogue is one of the most vital aspects in engaging a player with in-game characters. On this tutorial I’m going to talk about dialogues, their design structure and how to structure the code to bring It to life :)
The difficulties in interactive conversation lie in giving the player the illusion of freedom while still feeling natural and driving the story forward along interesting paths. Finding the most interesting and engaging way for a player to interact with game characters and develop relationships potentially opens up a wide array of game concepts and themes not typically explored by classic games.
NPC interaction gameplay is a part of nearly every modern game and nowadays there are a lot of different Dialogue Systems. We can separate them into a few categories based on common design patterns:
Non-Branching Dialogue
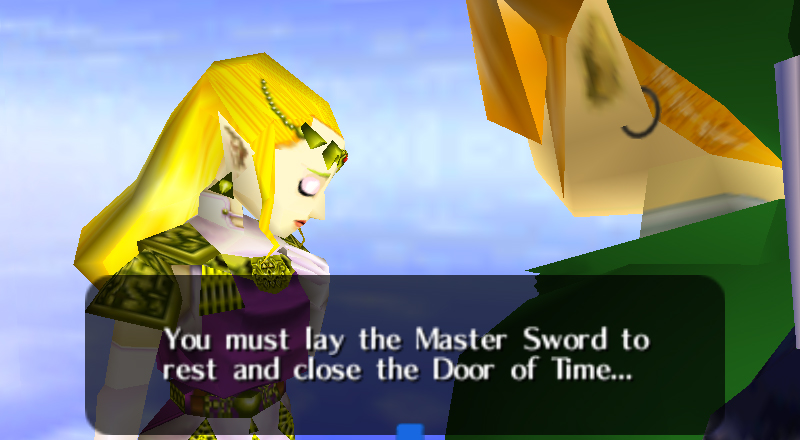
Is the simplest form of interaction, the NPC delivers his or her lines and the conversation ends, wich means that the player have way to interact with them. It’s the easiest dialogue to implement. If the player talks to the same NPC again after certain events, the NPC may have different things to say, but the player never has any control over the conversation.
It is very common on games where NPC can not be hostile, like The Legend of Zelda: Ocarina of Time.
Branching Dialogue
To give more options to the player we can make talk the NPC and give the player a limited set of choices. The player can not go back to previous text. Usually deppending on what the player answers, the NPC will change his next dialogue.
Conversation typically moves forward such that the player cannot go back to previous topics or responses. This one can have an infinity of variations. Even in games where branching dialogue is the primary gameplay focus, the player’s choices often affect the NPCs attitudes. One common technique employed to give the player a greater illusion of freedom is to have multiple responses lead to the same path. It’s very common in most dating simulations and many western RPGs.
One exemple of this system is The Walking Dead and Uncharted 4.

Hub-and-Spokes Dialogue
A variation of the previous method, Hub-and-Spokes Dialogue creates a very different conversation flow compared to basic Branching Dialogue. The player listens to the NPC’s lines and then chooses their response from the main “hub” of the conversation. The player can explore all the varieties and possibilities of the dialogues.
Player can exhaust a conversation by trying every possible option at their disposal with no penalty.
Mass Effect rather the limit the player’s response time, it gives the player his options before the NPC finishes speaking. In this manner, the player makes his decision and the avatar delivers a response with little to no pause in the conversation.
Other example is Life is Strange.

Parser-Driven Dialogues
In a parser-driven dialogue, players must type their exact response on a text and the system attempts to parse the input in a way It can understand. The NPC then replies with one of a number of pre-set responses, or builds a response based arround the words by the player in combination with pre-set phrases. In many cases, the player directly controls the flow of conversation, verring wildly off-topic whenever they wish without eliciting much surprise from the NPC.
A video game that uses this system is Facade (It is not correctly written because web format reports an error in one caracter, you can see the original game here).

Systemic Interactions
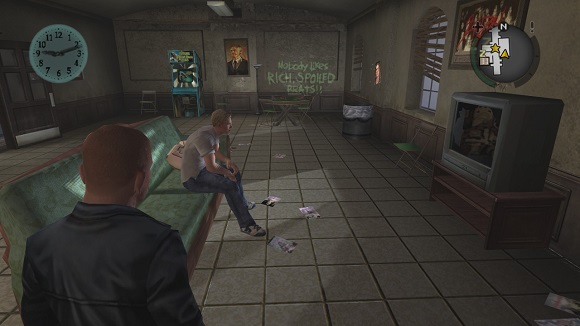
Some games do not feature full conversation systems, but merely simple means for interacting with characters that pass by. Often, It is a part of the gameplay or exploration. Rarery player can interact with the NPC but there are games that implemented it.
We can find exemples of this system in games like GTA V or Bully.
Other Systems
There are other games wich interaction with the NPC is difficult to categorize.
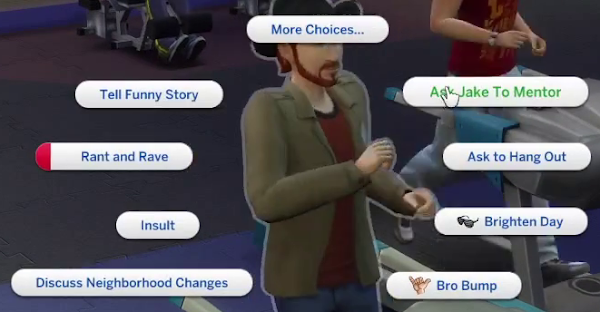
One of this kind of games is The Sims. Basic interactions are very similar to Systemic Interactions, the context is significantly different due to the way the player has control over multiple characters and can control both sides of a relationship.
Characters in the game speak unknown language, however, their dialogue reflects only their mood or their emotional response to the topic and the character they converse with. It communicate no other information to the player.
In other games like The Elder Scrolls IV, the player plays a minigame to improve the NPC’s disposition.
Dialogue Tree
Before begin to program a Dialog Manager, We have to make a dialog tree.
A dialog tree is a kind of Directed Graph with the nodes representing dialog content and the edges representing player choices. Once we have the structure of our graph, must highlight the important points and finally fill them with the NPC dialogues.
There implementation is simple enough that anyone with basic knowledge of data structures class should be able to build one, as you can see bottom, I will show you how to build a Non-Branching Dialogue Manager.
Exemple of dialog tree:

Code
This tutorial is built in C++. The solution is from Visual Studio, but you can work with it with .h and .cpp files in other softwares. The code is separated in different Modules that works in different areas. The Dialogue Manager is a module itself, so you can adapt this code in your own code. If you need to access each module you must use an external pointer called App. Be sure your working directory is on “Game” folder.
XML Structure
We are going to learn how to build a simple Non-Branching Dialogue Manager, where the dialogue changes if we speak twice with an NPC, like some The Legend of Zelda: A Link to the Past NPCs do.
A smart implementation on big projects is one that doesn’t encode the the structure or content of the graph directly, merely references that can be dynamically loaded as data files encoded as XML by an external tool and then imported at run time. This makes managing and authoring the content easier and eases localization.
First of all, we must structure our dialogues on a XML file thinking about how will store the data. We need an attribute “id” to associate the text with the NPC. And some dialogues, with attribute “state” that shows the correct text depending of NPC state.
Here we have an example:
<npc id="1">
     <dialogue state="0">
       <text value="Hi! #{PlayerName} "/>
       <text value="you are welcome to my Dialogue Manager research"/>
     </dialogue>
     <dialogue state="1">
       <text value="I've already spoken with you. Have a nice day!"/>
     </dialogue>
 </npc>
Dialogue Manager Classes and Methods
We are going to make a dialogue manager for a game with low quantity of dialogues, so instead of read all the files from XML each time we want to print it, It’s more optimal load all the dialogues from XML file and allocate them in to memory.
If you are going to make a bigger game or a complex dialogue system, you should read the dialogues directly from the XML because provides more organization and free memory.
Said that, we get started with the code:
Our DialogueManager must have a vector of dialogues
std::vector<Dialogue*> dialogues;
Class Dialogue is composed by an “id” to associate the dialogue with the correct NPC and a vector filled with pointers to textLine, wich is the text himself, filled from the XML file.
class Dialogue
{
public:

	Dialogue(int id);
	~Dialogue();

	int id;
	std::vector<textLine*> texts;
};
Each textLine must have an state, to know wich part of the text we have to print on screen, and a pointer to string, called line .
class textLine
{
public:

	textLine (int state, std::string line);
	~textLine ();

	int state;
	std::string* line = nullptr;
};
Knowing how do the Classes work, we can figurate our DialogueManager something like this:
class DialogueManager : public j1Module
{
public:

	DialogueManager();
	~DialogueManager();
	bool Awake(pugi::xml_node& config);
	bool Start();
	bool PostUpdate();
	bool BlitDialogue(int id, int state); //Called by the NPC to print their dialogue.

private:

	int dialogueState = 0; //Used to iterate all the dialogues on a conversation.

        /*-- Data to load XML --*/
	std::string folder;
	std::string path;
	pugi::xml_document dialogDataFile;
	pugi::xml_node dialogueNode;
        /*-- END --*/

        /*--- UI element to print dialogues on screen ---*/
	UI_element* screen = nullptr;
	UI_String* text_on_screen = nullptr;
        /*-- END --*/

	std::vector<Dialogue*> dialogue; //Vector of Dialogues.
}
TODO’s
To write the code properly, there are comments on the code with the name “TODO” wich give instructions to make the code work. The goal of this is make sure you understand every step on the management of the dialogues.
You can search all the TODO’s in the code pressing ctrl+SHIFT+F (on Visual Studio), let’s start:
TODO 1. XML Structure
Create your own XML with his dialogues.
You must go to DialogueManagerForVideoGames\Motor2D\Game\data.zip\dialogue\dialogs.xml and open the file directly from the .zip. If the file does not open, you can decompress It, make modifications, and compress It again. Always as .zip. It is very important, if you do not do this correctly, the data will not load.
Your XML must have a structure like we saw above. You can add as many NPCs as you want.
TODO 2.
Make a vector of pointers to Dialogue. Here will fill all our dialogues from XML.
TODO 3.
Allocate memory to Dialogue from your XML.
Make Pushback of this data into your vector made previously.
Remember delete memory too!
TODO 4
Allocate memory to all the text inside dialogues from XML.
You will need two iterators, one for every dialogue and another one for all their texts.
Make Pushback of this data into Dialogue’s textLine vector. We want all the texts :)
Remember delete memory too!
TODO 5
We are going to prepare the Blit funciton.
This function recives the NPC id and state, setting the correct text on the screen.
Iterate your Dialogue vector and search for the correct dialogue ID.
TODO 6
Iterate every text inside previous Dialogue you found previously and set the string on the tex_on_screen, using text_on_screen->Set_String(string);
Remember dialogueStep value. We want to follow the right impression flow.
TODO 7
Call BlitDialog sending the id and NPC state. There are code to test in-game results. Send id and NPCstate values (there are already defined).
Controls:
Q: Advance the dialogue.
Z: Change NPC (in case you have more than 1).
X: Change NPC state.
R: Restart conversation.
MORE CHALLENGES
Now we are going to create a simple Branching Dialogue, where you will give two or more options to the player, ending in the same response. This tecnique is intended to create a sense of freedom.
XML must look like this:
<npc id="1">
     <dialogue state="0">
       <text value="Hi! #{PlayerName}, do you prefer Cola Cao or Nesquik?"/>
       <options>
         <option value="Cola Cao is the best"/>
         <option value="Nesquik is the best"/>
       </options>
       <response value="You must be a horrible person"/>
     </dialogue>
     <dialogue state="1">
       <text value="You aren't interesting anymore."/>
     </dialogue>
   </npc>
You must adapt what we did on last TODO’s to this new structure.
Add a new vector (default empty) in textLine, wich must allocate all the options inside.
You must create another screen from UI and text_on_screen (you can find the code in Start() function) and adapt the BlitDialog function, conditioner should look like: if new_options_vector != nullptr. You will need UI code to implement new functions.
THE END
As you can see, the only limit on Dialogues in video games is yourself, so let’s work hard! If you have any questions, suggestions or feedback, you can contact me on my mail: fran152job@gmail.com
I hope It’ve been useful.
Greetings, Fran :)
More info:
Discussion about Dialogue Trees
Dialogue production and design