Particle System
This project has been created as a product of a college term imparted at the CITM, UPC. We have created a particle system that lets the user create Particle Emitter components, move them freely around a scene, adding textures to the particles and tweaking them playing with the values found on the inspector (life time, speed over time…) to tweak them as desired. This Particle System has been developed by:


Here’s the link to the Particle System project’s repository and a link to get the latest release.
We have used as a base the Fiesta Engine, developed by Eric Solà and Ferran Martín. The Fiesta Engine is under the MIT license.
Work log
Francisco Ruiz
- Particles behavior: making the particles seem alive using randomization methods.
-
Particle System code structure.
-
Draw particles with OpenGL.
-
Implement particle emitter as a component of the GameObjects.
-
Billboard implementation: making particles look to editor camera or main camera when the scene is playing.
- Fireworks implementation: behavior and draw textures.
Alexis Cosano
-
Particle texturing.
-
Bug fixing.
Particle System Explanation
 The engine uses a structure of GameObjects. To this GameObjects you can add different components such as Mesh, Transformation or Particle Emitter :)
By default, all GameObjects have a component transformation that defines his position, scale, rotation, etc. into the 3D world. To implement this we use vectors and quaternions. You can modify this transformation from the interface or gizmos, like in other engines like Unity.
To use our Particle System you must create a new Game Object and add the Particle Emissor that will follow his parent Game Object.
Once created, you can modify some variables like position, life time, scale, acceleration, deceleation (or gravity), direction on x and z axis, emission over time and his texture.
Internally, the particle system works this way:
First, we create the number of particles that our particle emmiter will have, 500 by default, giving to their movement random values, so we feel each of them unique.
After, each particle is updated, incrementing his transformation propierties to give them motion and checking the time they are alive to delete them.
Finally we draw the particles on screen usign OpenGL.
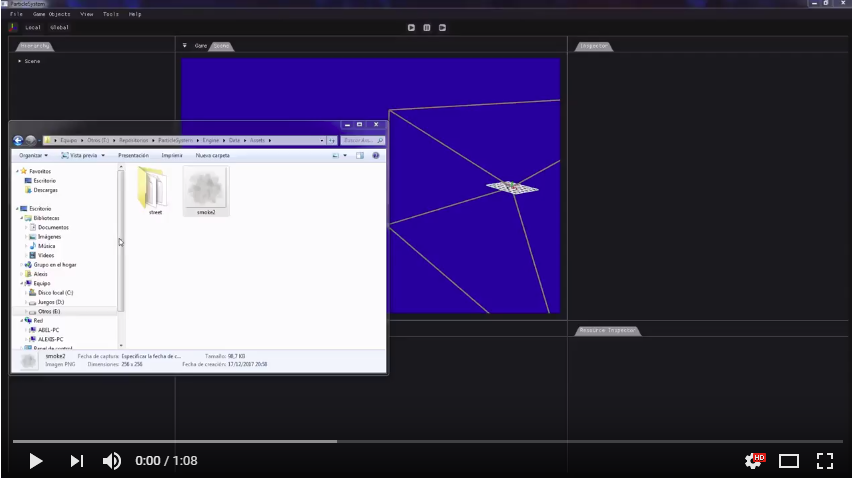
Here’s a video showing the functionality of our particle system:
Engine
The engine UI starts showing you the next elements:
- Hierarchy: Show the scene game objects hierarchy
- Scene: Edit camera point of view
- Game: Game camera point of view
- Inspector: Show the selected game object components
- Resource Inspector: Show the resources related with the selected file
- Files: Show the files inside the selected folder
- Directories: Show the folders inside assets
- Play/Pause/Next buttons: Used to start/pause or loop one frame in the game mode. When the game mode starts game time is shown and you can change the time scale.
You can acceed to all the UI elements using the top bar menu that have five sub menus.
-
File: - Save: Serialize the current scene - Load: Load the serialized scene - Clean: Delete all the objects in the scene - Exit: Close the engine
-
Game Objects: - Empty: Create a empty object - Cube,Sphere…: Create a primitive
- View: - Hierarchy: Show you the states of the objects loaded in the scene. - Configuration: Show all the modules configuration and let you modify it.
- Tools: - Profiler: Show a simple time tracking of all the modules. You can modify the times to define when a module is exceeding his process time. - UI Config: You can choose one of the two defined UI themes or edit your own.
- Help: - GitHub Repository: A link to the github repository of the engine. - Download last: Links to the last github release page. - Report a bug: Links to the issues page of the github repository. - About: Show basic information about the engine (Libraries, license, authors,…)
Camera movement:
- Right click turns on “WASD” fps-like movement
- Mouse wheel zoom in and out
- Mouse wheel pressed moves camera up, down, left and right
- Alt+Left click orbit the object
- Pressing “f” focus the camera around the geometry
Console:
Console is initially closed.
To open/close the console pulse the grave key. Console shows information of the engine operations and can handle some basic input.(help,quit,clear).
To see all the console commands, you can open the console header in the configuration window or enter “help” in the console
Resources Manager:
Resources manager generate all the necessary files and folders to manage the user files. When a file is imported the appropriated files are generated:
- Material: .meta & .dds
- Mesh: .meta & .fiesta
- Scene: .meta & .scn
To import a file drop it to the engine window or place it on assets before the start of the engine.
If a file is removed from assets the imported resources aren’t deleted from the library so you can already use it in the engine.
When you edit a file the resource manager updates the related resources and modify them.
If a resource is not used in the scene it’s released from the memory till some gameobject use it.
Launcher:
When openning the Engine, before the main loop, the launcher will be executed and will read the file updates.json from Github. If your update is different from the online update file, a Download button will appear and will send you to the Project Latest Release. If you click start the application will run with the current version.
Gizmos
When you click an object the gizmo will appear. To change between gizmos press Q,W,E,R If you are focus in an object [pressing f], the gizmo works perfectly but if the object is far away from the center it will have a little gap between the gizmo and the mouse position. The Global/Local buttons on top of the screen will modify how the gizmo afects to the game object
Hierarchy Window
When Right click in the hierarchy window or a GameObject, a menu will appear and will show some options.
Scene
You can place two or more cameras in the scene. If you go to the inspector and select Main Camera in the Camera Component this will be the Camera that displays the Game view. You can also separate the Scene and Game view and move the cameras to see the results in real time.
Camera
To modify Camera FOV or other settings go to “View” -> “Configuration” -> “Camera”
Octree
To calculate the octree go to “View” -> “Configuration” -> “Scene” -> Recalculate
Octree will be filled with static objects. To set a static objects check the inspector “Static” checkbox. The childs of a static object become static.
Debug mode
When Pressing F1 debug mode is active and you will see the mouse picking ray and the editor camera frustrum in the Game View
The Particle System
This project is under the MIT License. Copyright (c) 2017 Alexis Cosano & Fran Ruiz
Permission is hereby granted, free of charge, to any person obtaining a copy of this software and associated documentation files (the “Software”), to deal in the Software without restriction, including without limitation the rights to use, copy, modify, merge, publish, distribute, sublicense, and/or sell copies of the Software, and to permit persons to whom the Software is furnished to do so, subject to the following conditions:
The above copyright notice and this permission notice shall be included in all copies or substantial portions of the Software.
THE SOFTWARE IS PROVIDED “AS IS”, WITHOUT WARRANTY OF ANY KIND, EXPRESS OR IMPLIED, INCLUDING BUT NOT LIMITED TO THE WARRANTIES OF MERCHANTABILITY, FITNESS FOR A PARTICULAR PURPOSE AND NONINFRINGEMENT. IN NO EVENT SHALL THE AUTHORS OR COPYRIGHT HOLDERS BE LIABLE FOR ANY CLAIM, DAMAGES OR OTHER LIABILITY, WHETHER IN AN ACTION OF CONTRACT, TORT OR OTHERWISE, ARISING FROM, OUT OF OR IN CONNECTION WITH THE SOFTWARE OR THE USE OR OTHER DEALINGS IN THE SOFTWARE.